Before you begin, you need
- Owner role in the workspace
- Access to the source system you want to connect
If your source is behind a firewall or private network, add this Dex outbound IP address to your allowlist before testing the connection: 44.216.91.118.
- Dex supports three connection categories: Databases, File uploads, and Integrations.
- Databases typically connect over TCP/SSL (host, port, user, password). Files are uploaded directly. Integrations use REST APIs or OAuth.
- Provide credentials in the connection form. Dex runs a live test to validate connectivity.
- Dex performs a schema sync to discover tables/collections and generate AI descriptions.
- After sync, query your data using natural language; Dex translates to SQL or API calls.
Databases
Below are the supported databases and the exact step-by-step setup for each.PostgreSQL
Required fields: Host, Port (default 5432), User, Password, Database. Step-by-step:- Connections → Add Connection → select
PostgreSQL. - Enter Host and Port (5432 unless changed).
- Enter User and Password.
- Enter Database name.
- Click
Test Connection(Dex runsSELECT 1). - Click
Connectto begin schema sync.
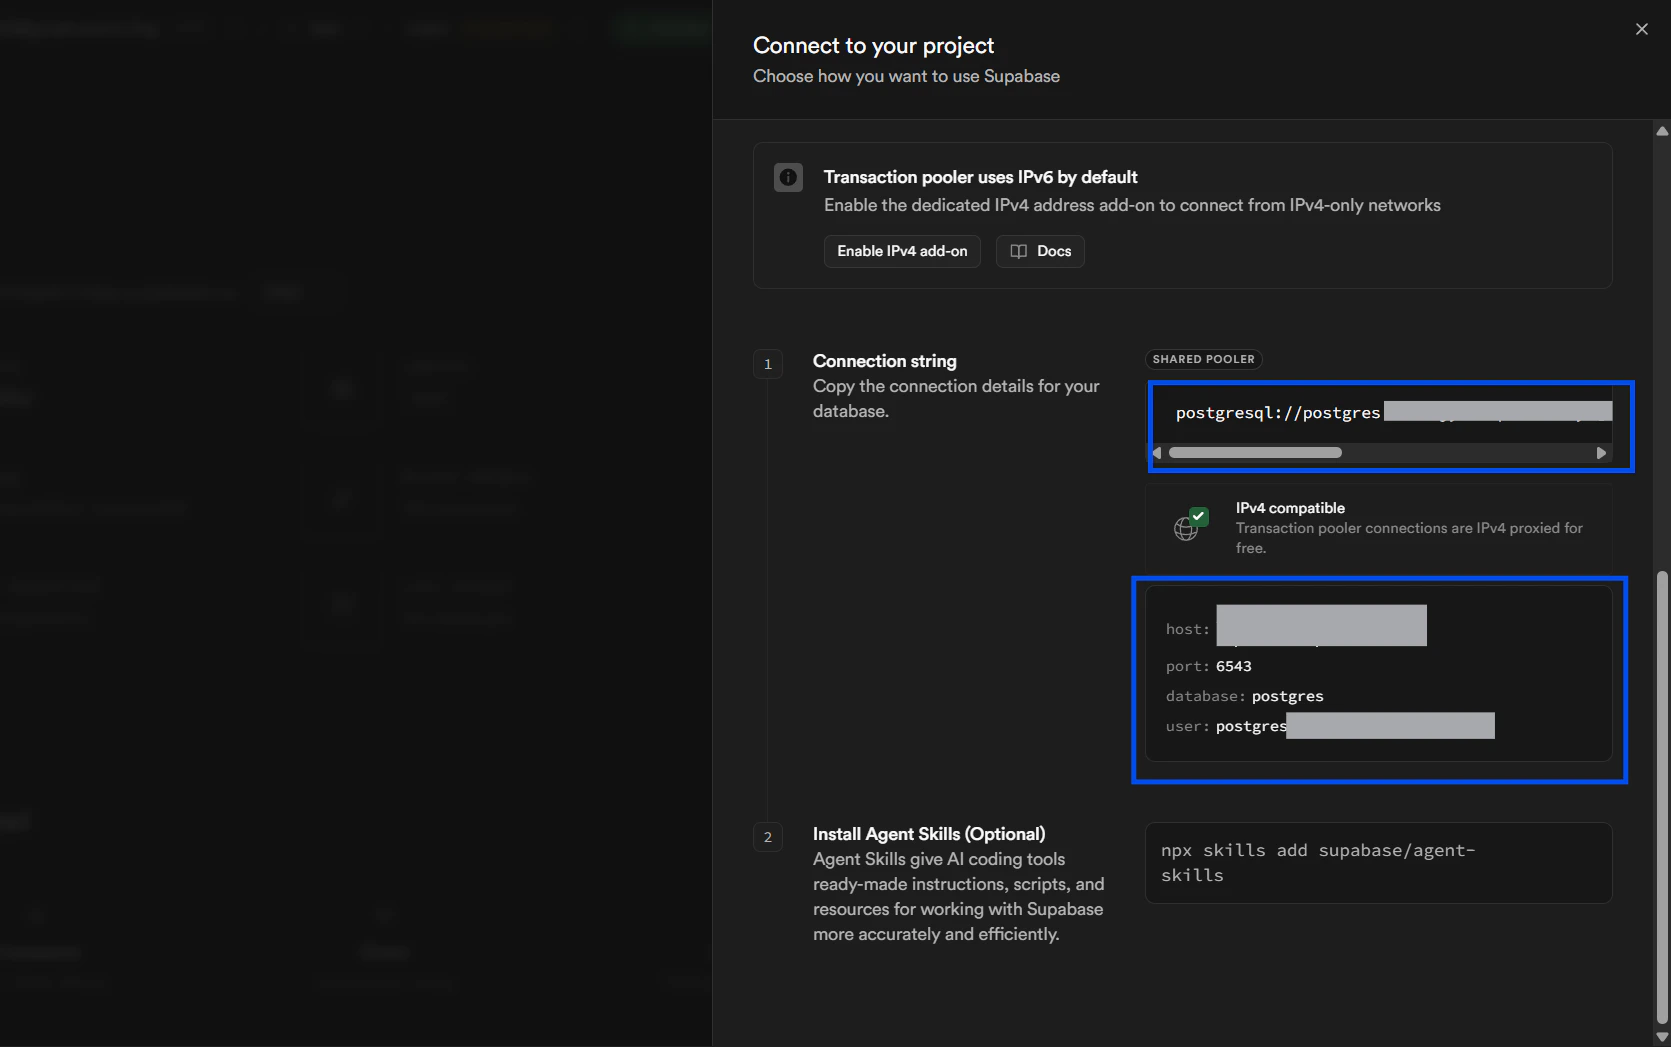
Supabase (managed Postgres)
Supabase is a hosted Postgres database. Connection parameters match PostgreSQL, and you can provide either a full connection string or individual fields. Required fields: Host, Port (default 5432), User, Password, Database — or a connection string. Step-by-step:-
In Supabase, gather your connection details.
a. Sign in to Supabase and select the project you want to connect.

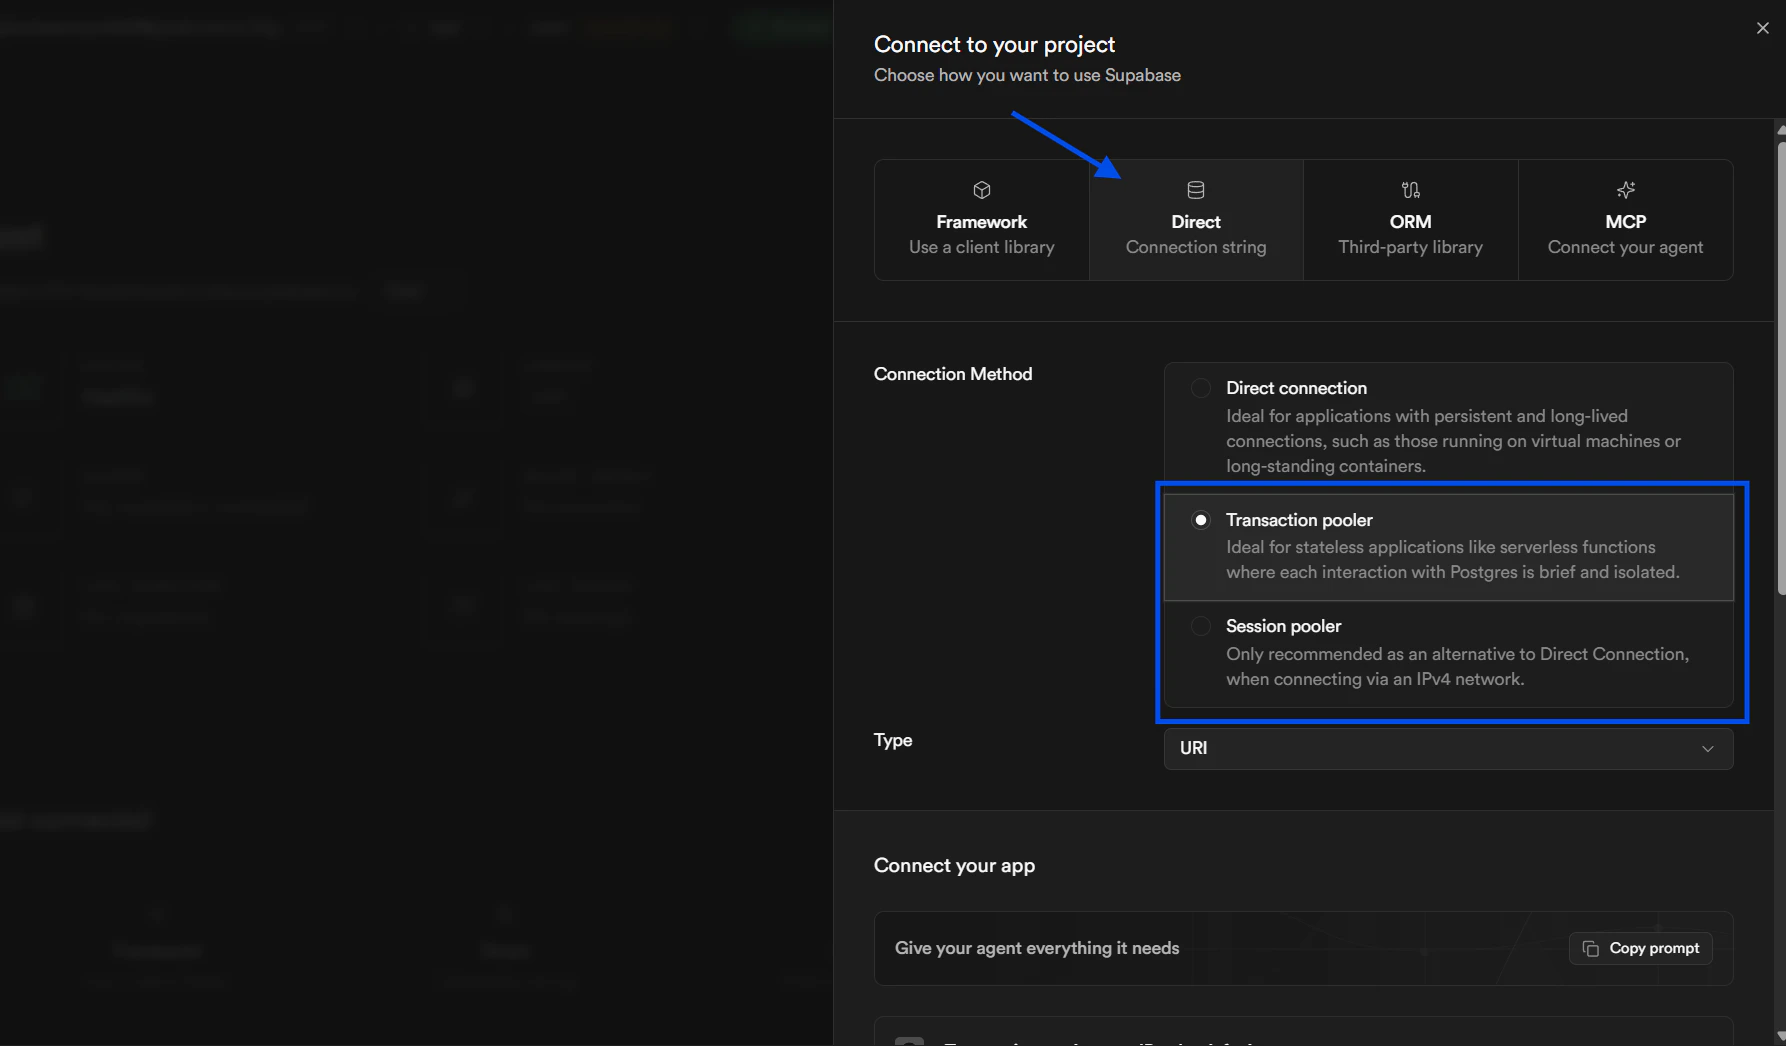
-
Connections → Add Connection → select
PostgreSQL. - Either paste the full connection string in the connection form, or enter Host, Port (5432), Database, Username, and Password.
-
Click
Test Connection(Dex runsSELECT 1). -
Click
Connectto begin schema sync.
MySQL
Required fields: Host, Port (default 3306), User, Password, Database. Step-by-step:- Connections → Add Connection → select
MySQL. - Enter Host, Port, User, Password, and Database.
- Click
Test ConnectionthenConnect.
mysql_native_password).
Snowflake
Authentication: Password or Key-Pair. Required (password): User, Password, Account, Database, Warehouse, (optional Role). Required (key-pair): User, Account, Private Key (PEM), Private Key Passphrase (optional), Database, Warehouse, Authenticator=SNOWFLAKE_JWT. Step-by-step:- Connections → Add Connection → select
Snowflake. - Choose auth method (Password or Key-Pair).
- Enter Account, User, and credentials.
- Enter Database and Warehouse, set Role if needed.
- Click
Test Connection(Dex runsSELECT CURRENT_TIMESTAMP()), thenConnect.
MongoDB
Required fields: Username, Password, Cluster URL (without protocol), Database, Options (optional). Step-by-step:- Connections → Add Connection → select
MongoDB. - Get Cluster URL from Atlas (omit
mongodb+srv://). - Enter Username, Password, Database, and Options as needed.
- Click
Test ConnectionthenConnect.
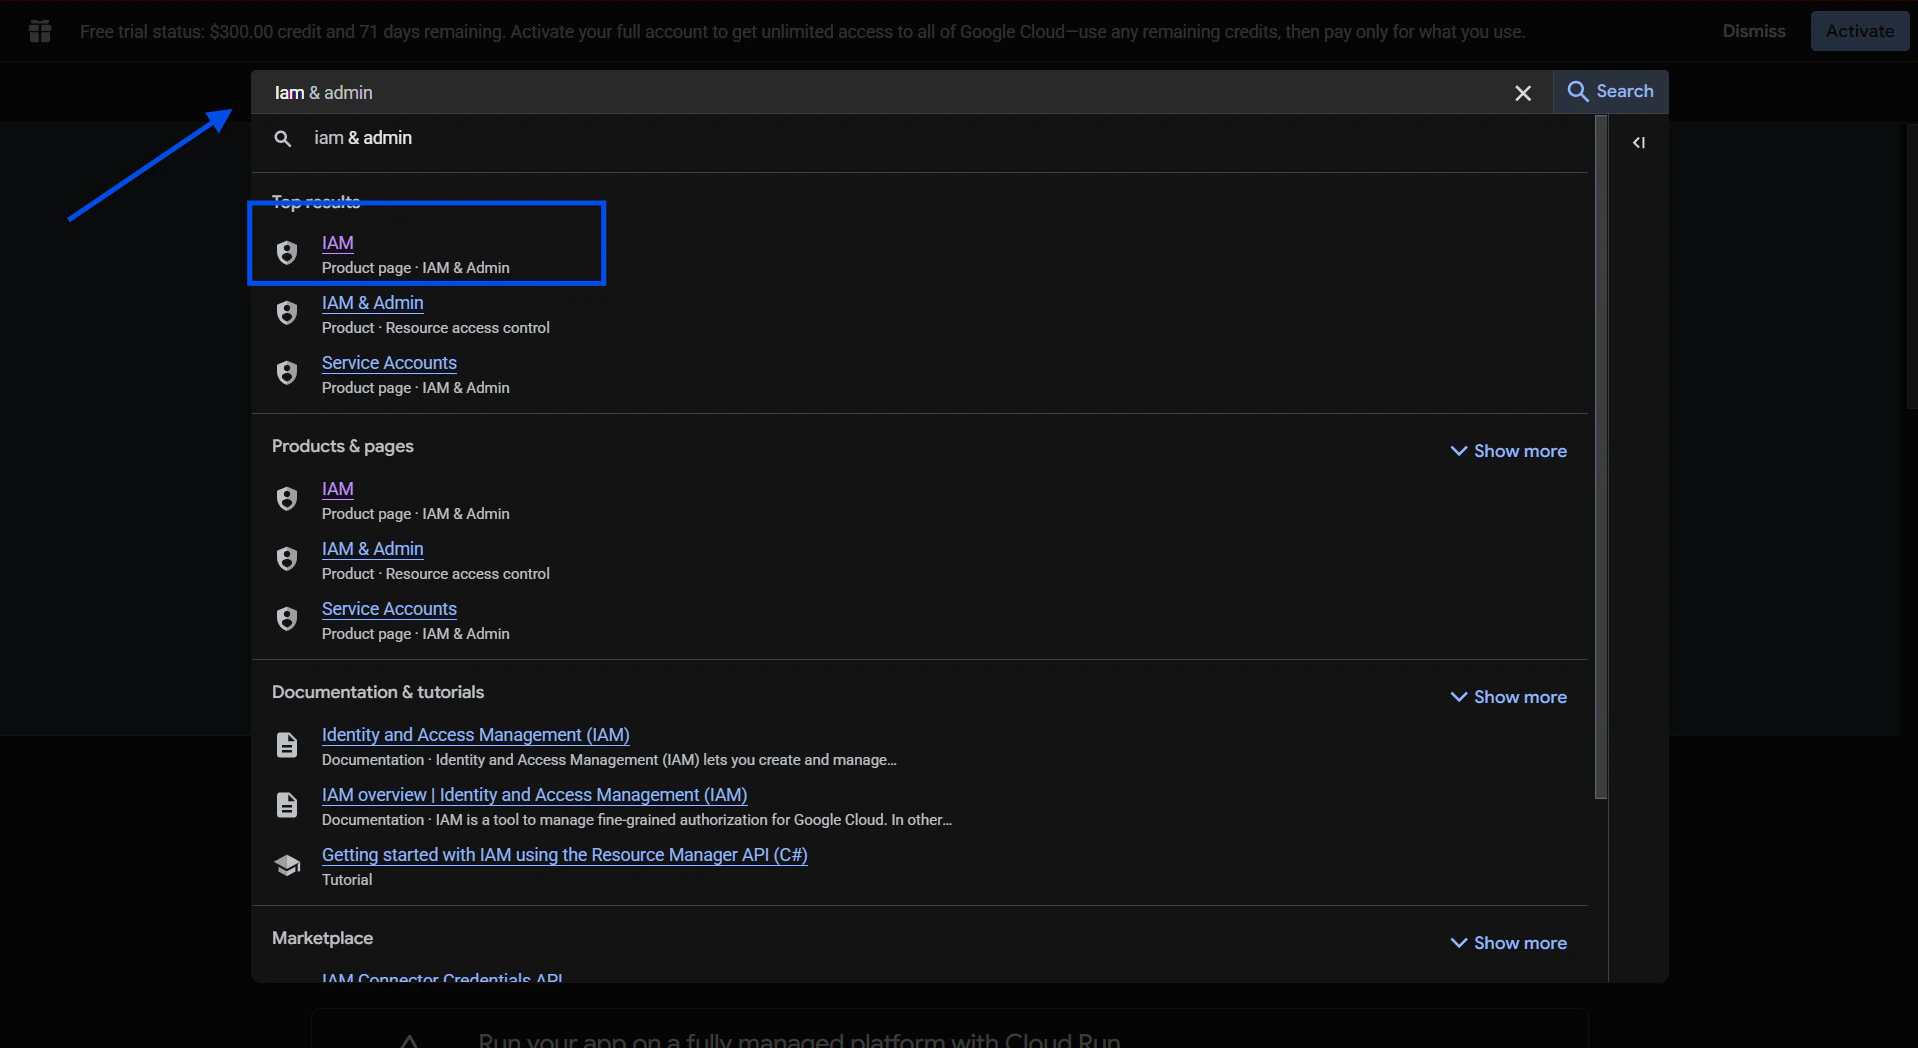
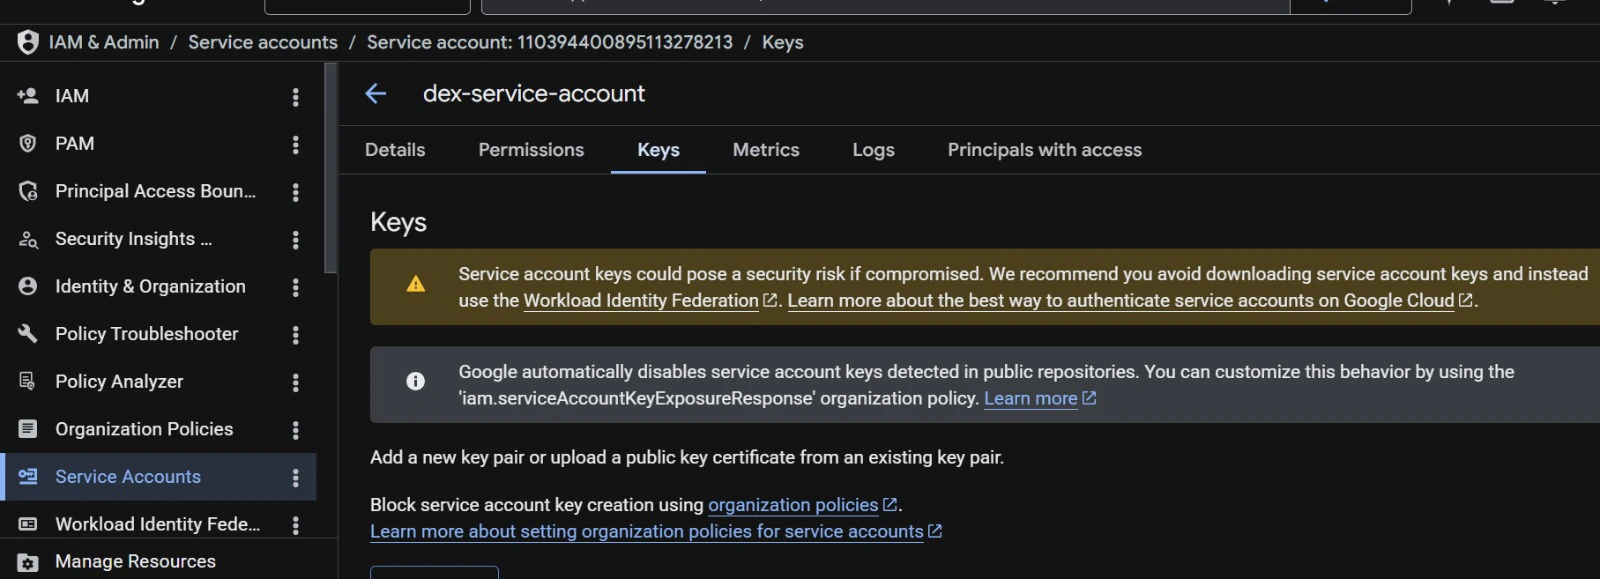
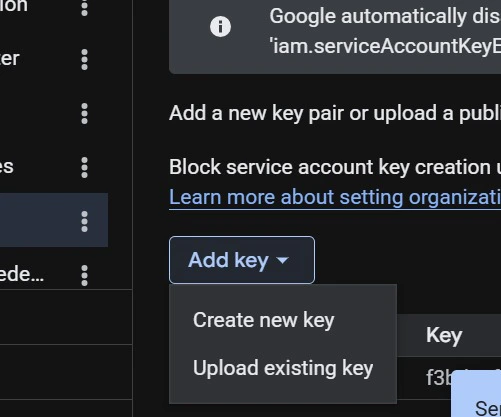
Google BigQuery
Required fields: Project ID, Dataset ID, Service Account JSON key. Step-by-step:-
Create a Service Account in GCP.
a. Go to GCP Console (cloud.google.com) and sign in to your account.
b. Search for “IAM and Admin” in the search bar and select it.
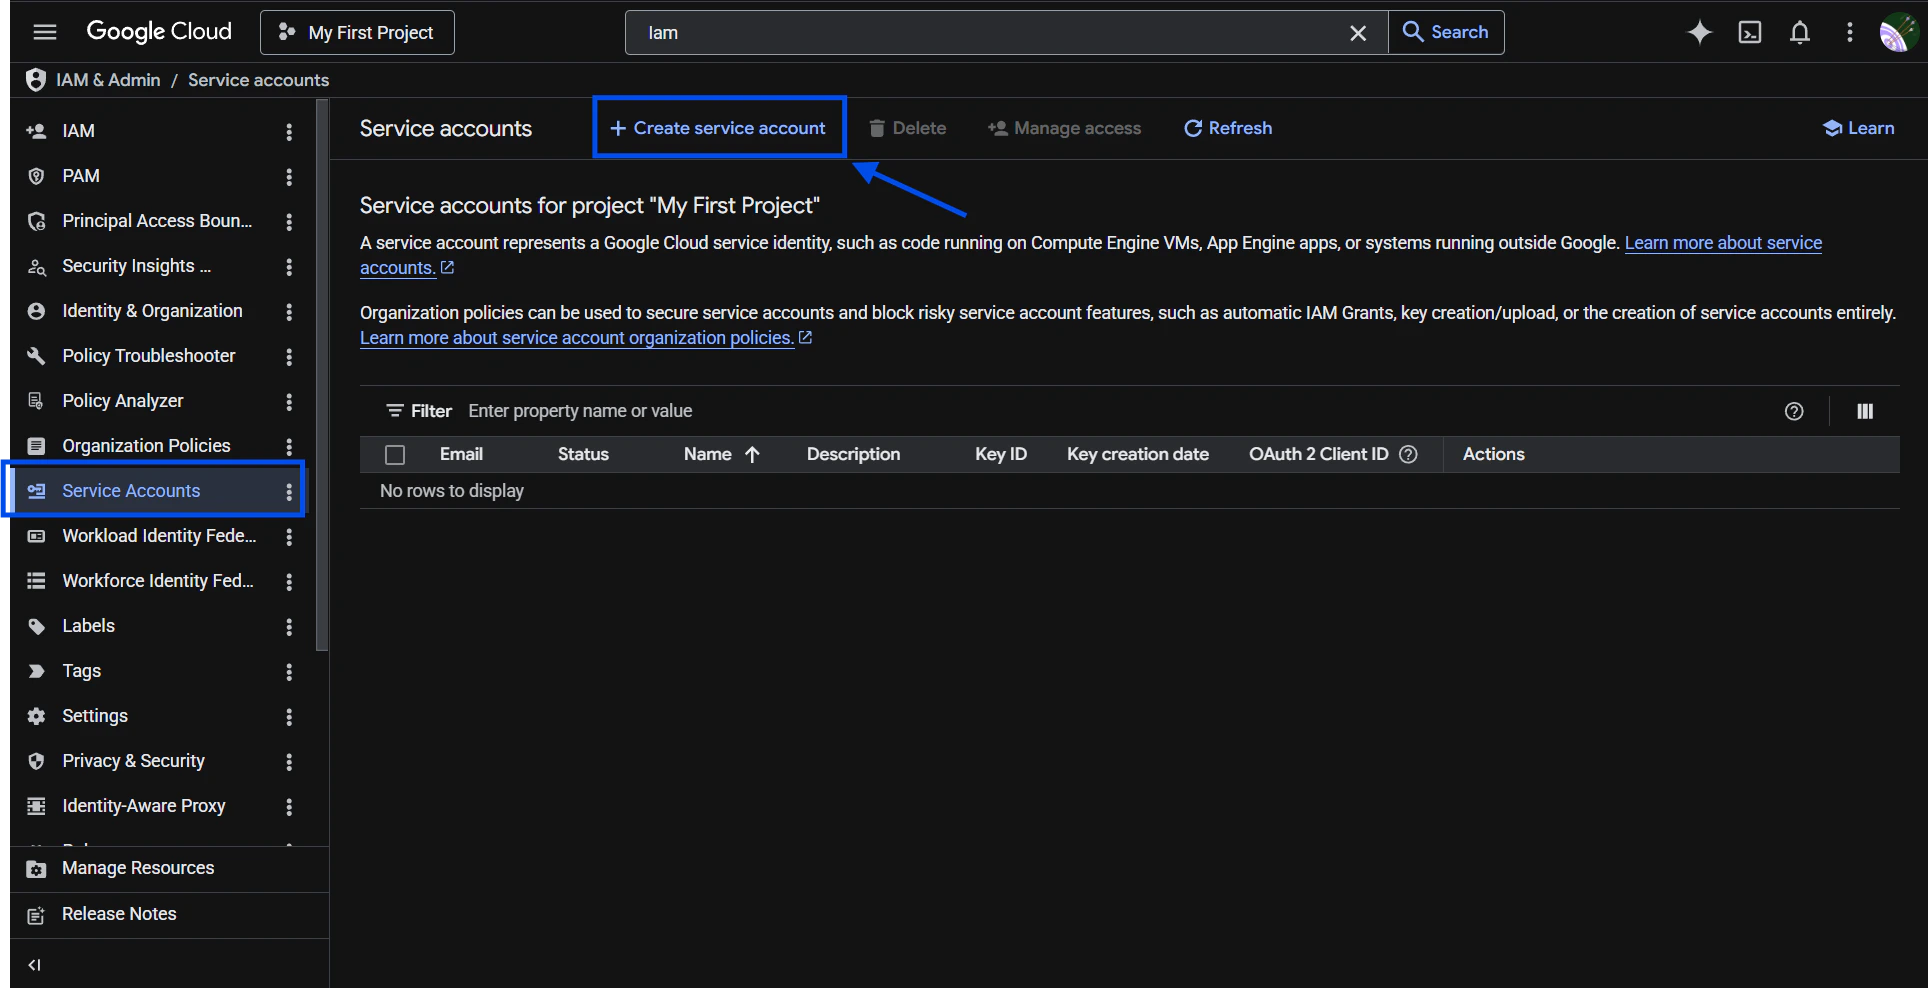
-
Connections → Add Connection → select
BigQuery. - Enter Project ID and Dataset ID, upload or paste Service Account JSON.
-
Click
Test ConnectionthenConnect.
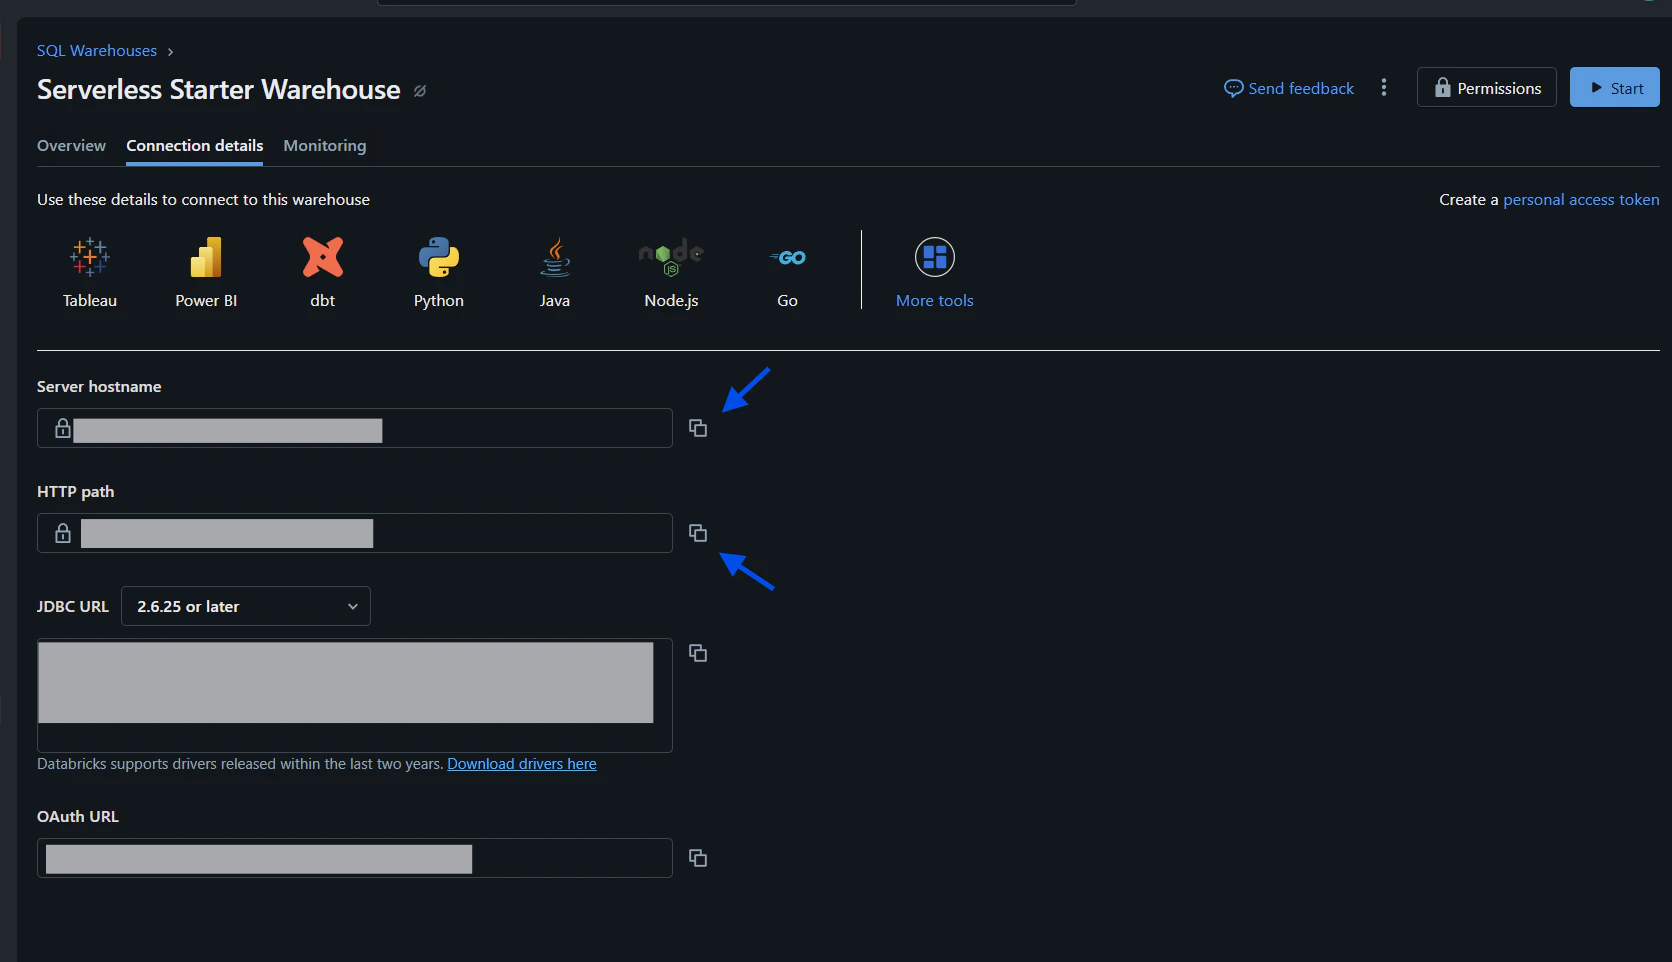
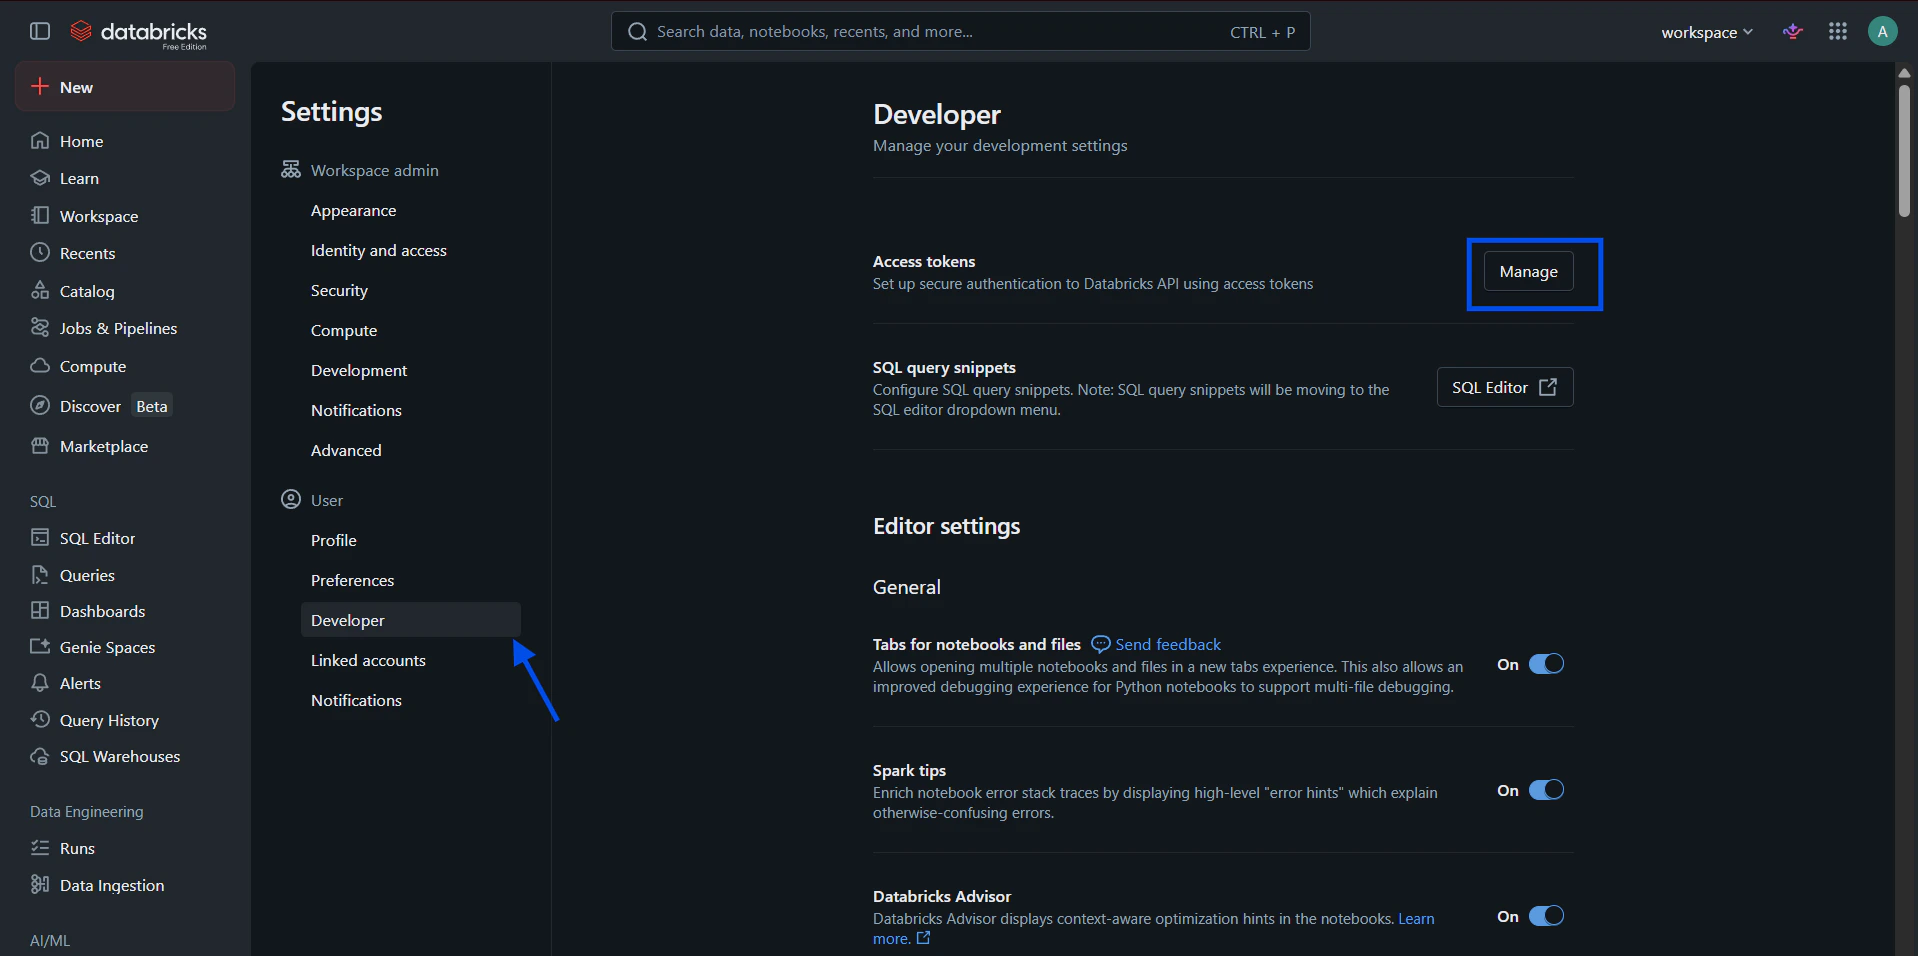
Databricks
Required fields: Server Hostname, HTTP Path, Access Token. Step-by-step:-
In Databricks SQL Warehouses, open Connection details to find Server Hostname and HTTP Path.
a. Sign in to your Databricks dashboard at https://www.databricks.com/. On the left sidebar select SQL Warehouses, then choose the warehouse you want to connect.
-
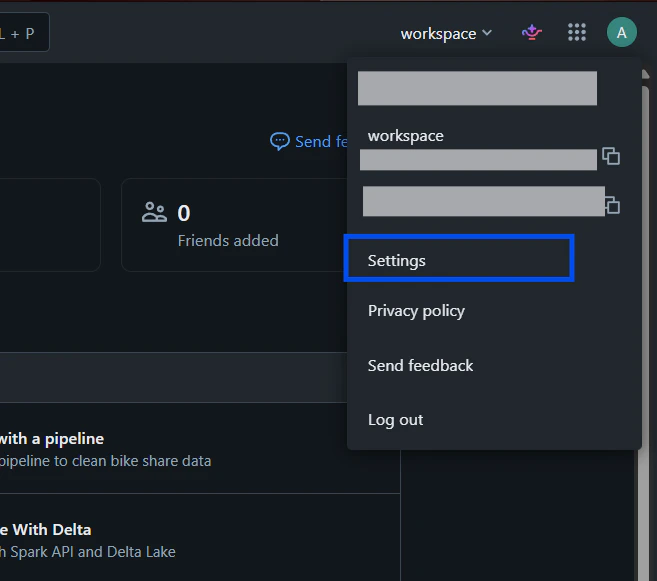
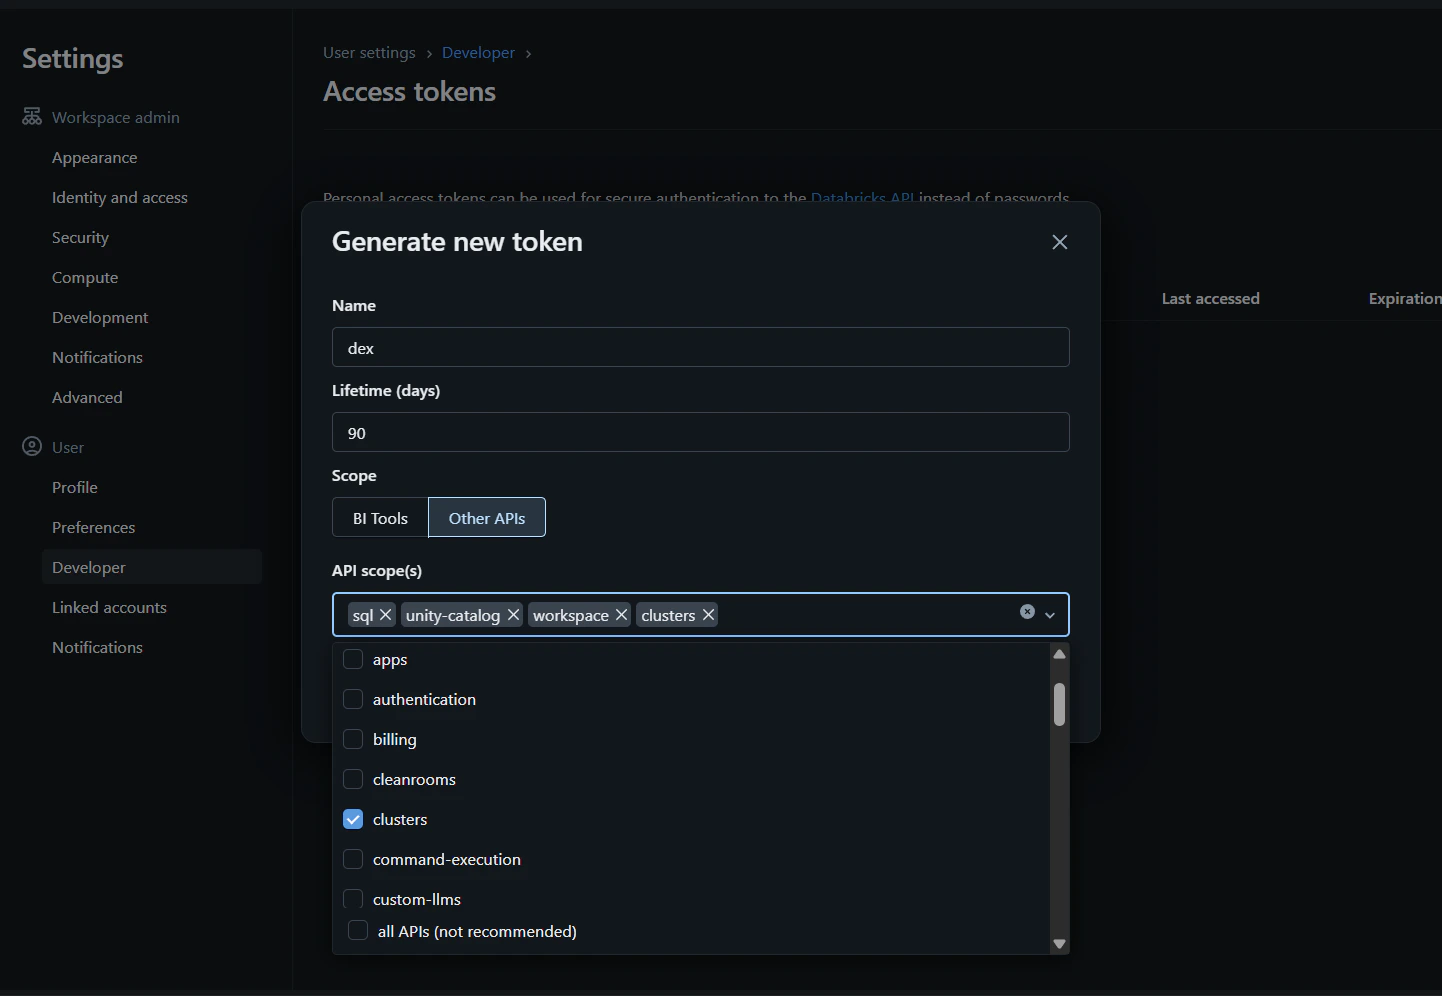
Generate a Personal Access Token in Databricks user settings and copy it into the Dex connection form.
a. From the Databricks dashboard, click your user avatar in the top-right and choose User Settings.
-
Connections → Add Connection → select
Databricksand provide Server Hostname, HTTP Path, and Access Token. -
Click
Test Connection, choose Catalog/Schema, thenConnect.
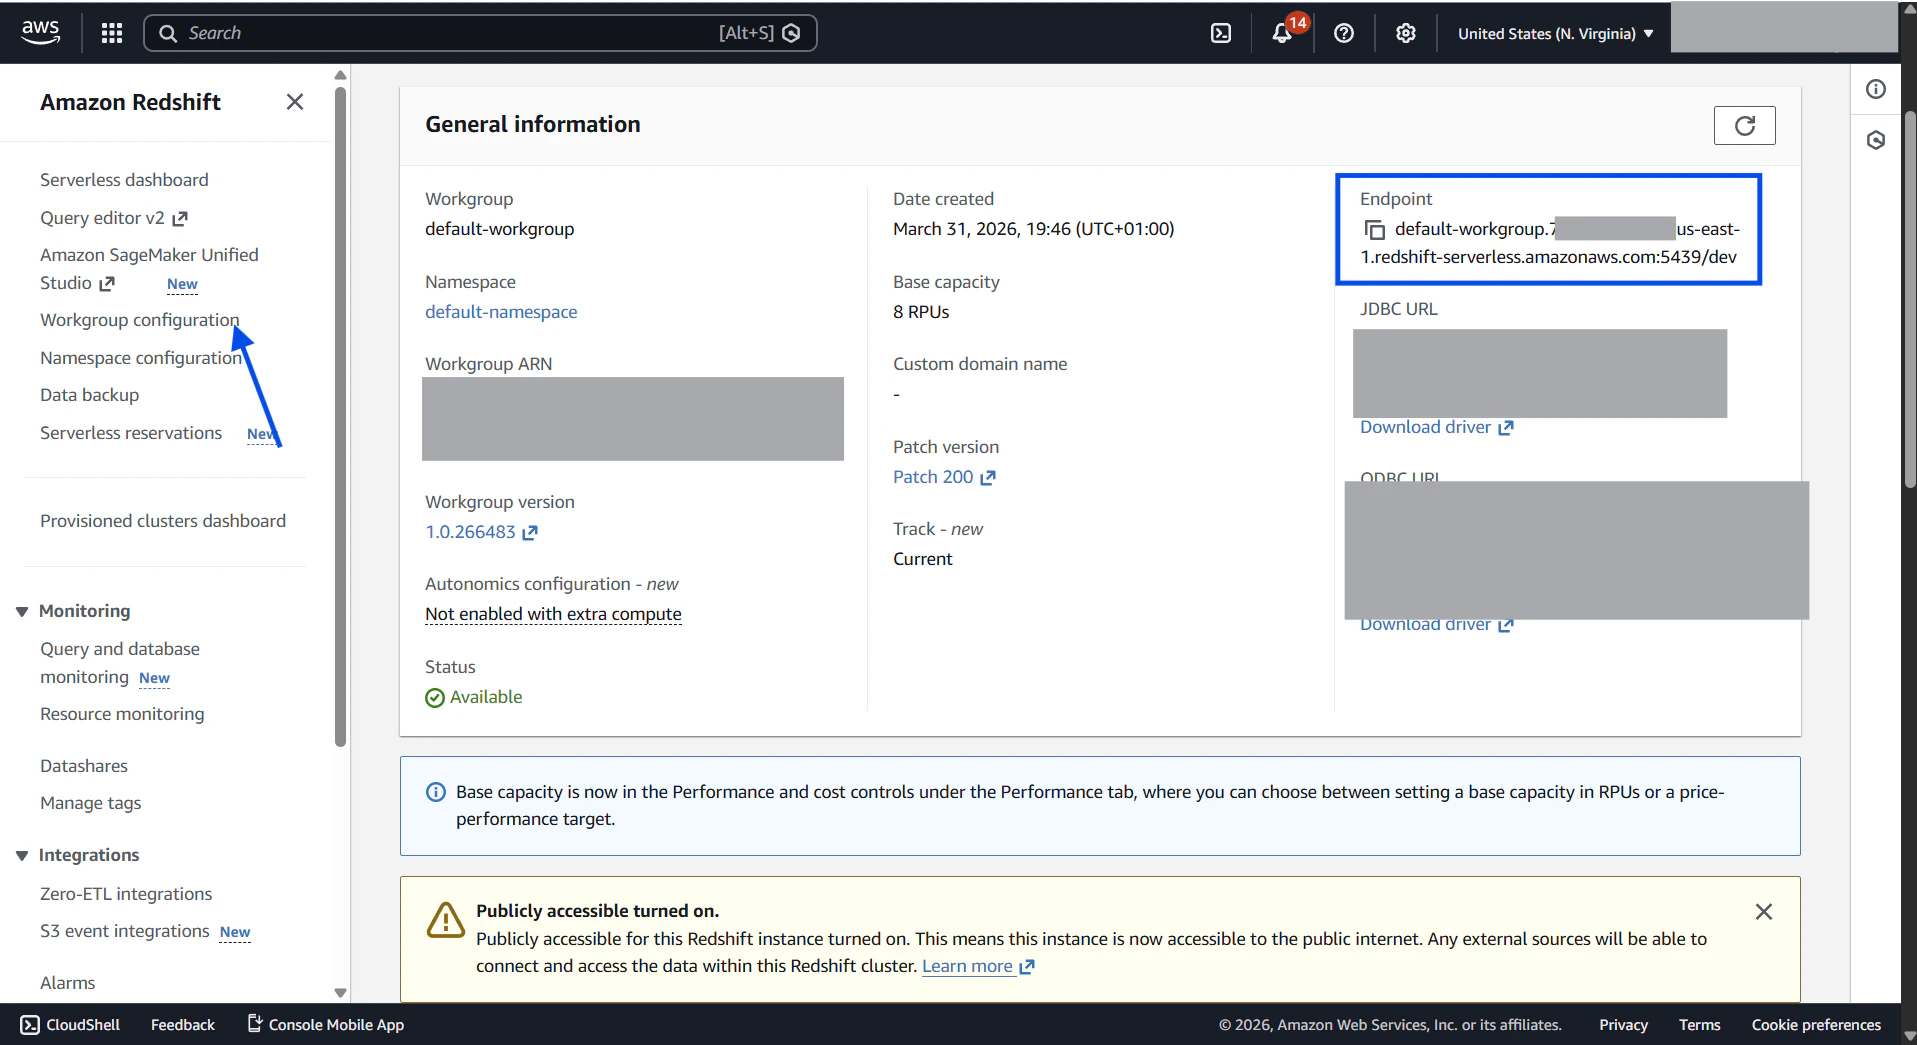
Amazon Redshift
Required fields: Host (cluster endpoint), Port (default 5439), User, Password, Database. Step-by-step:-
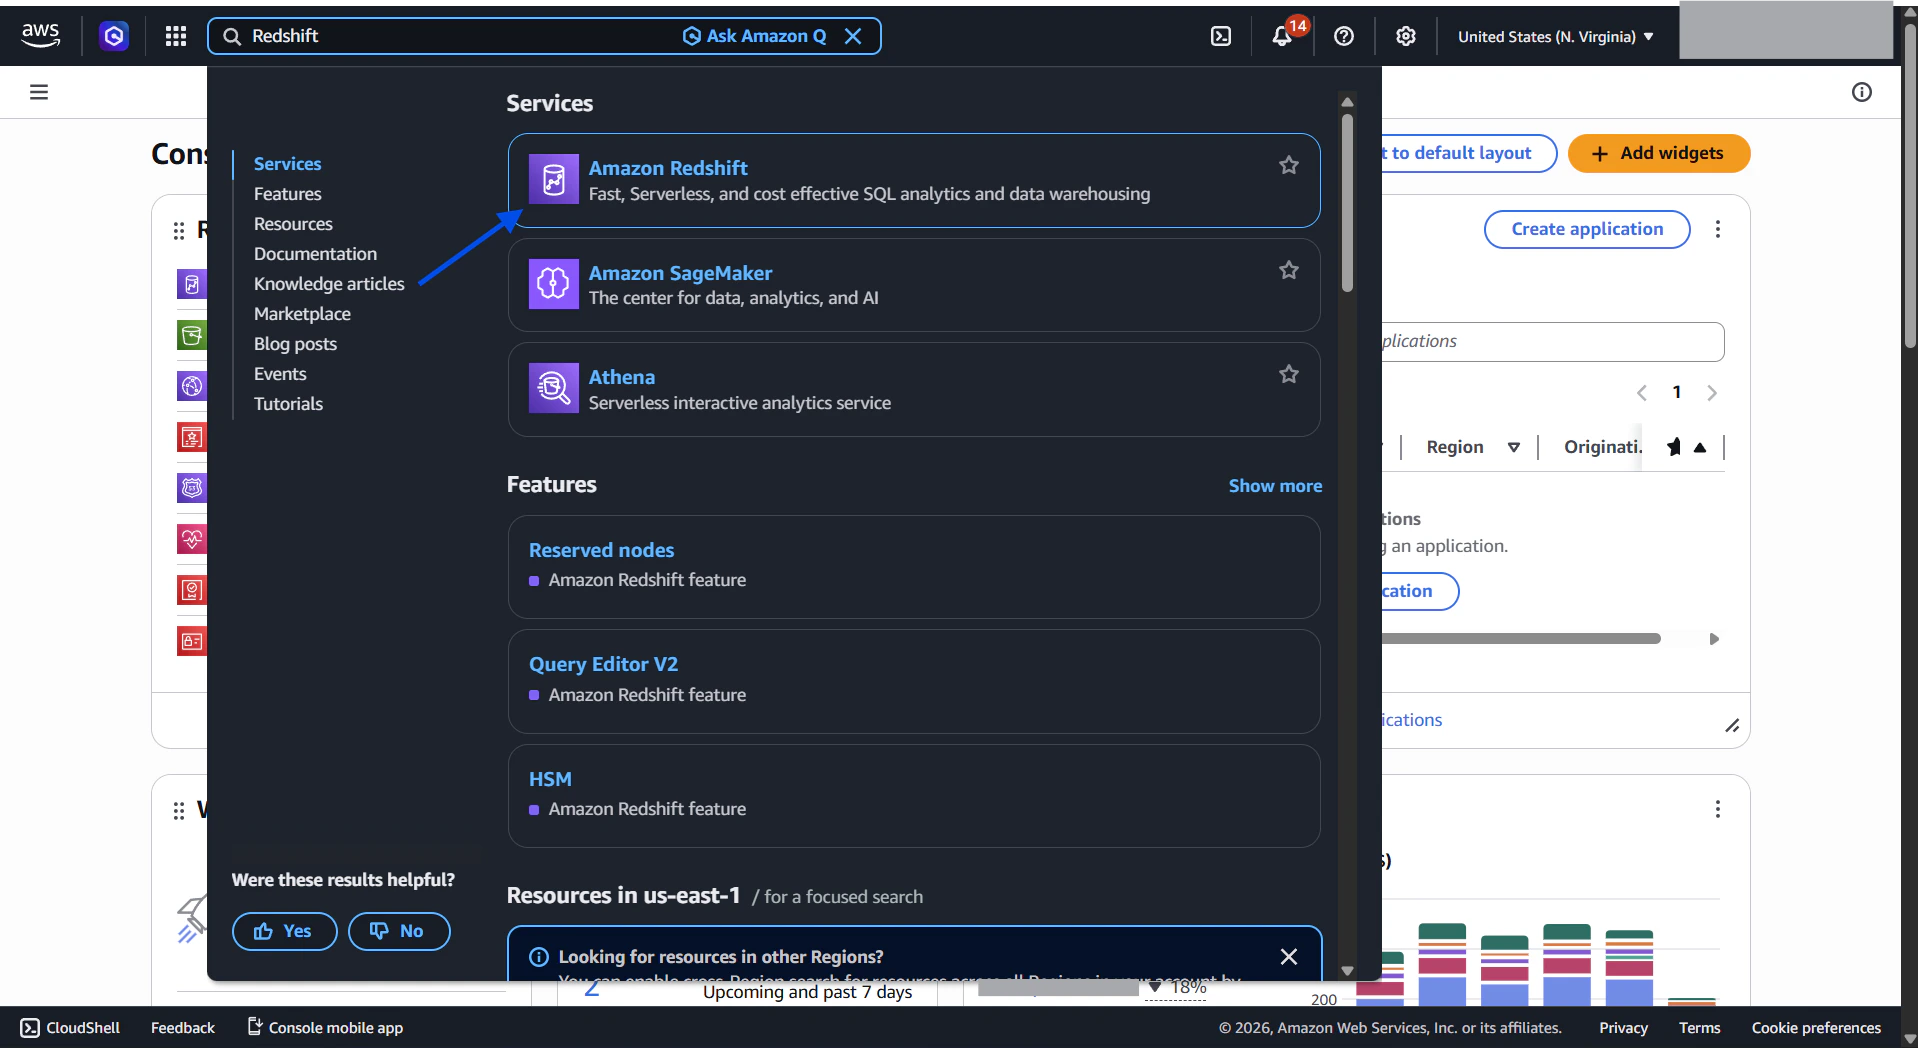
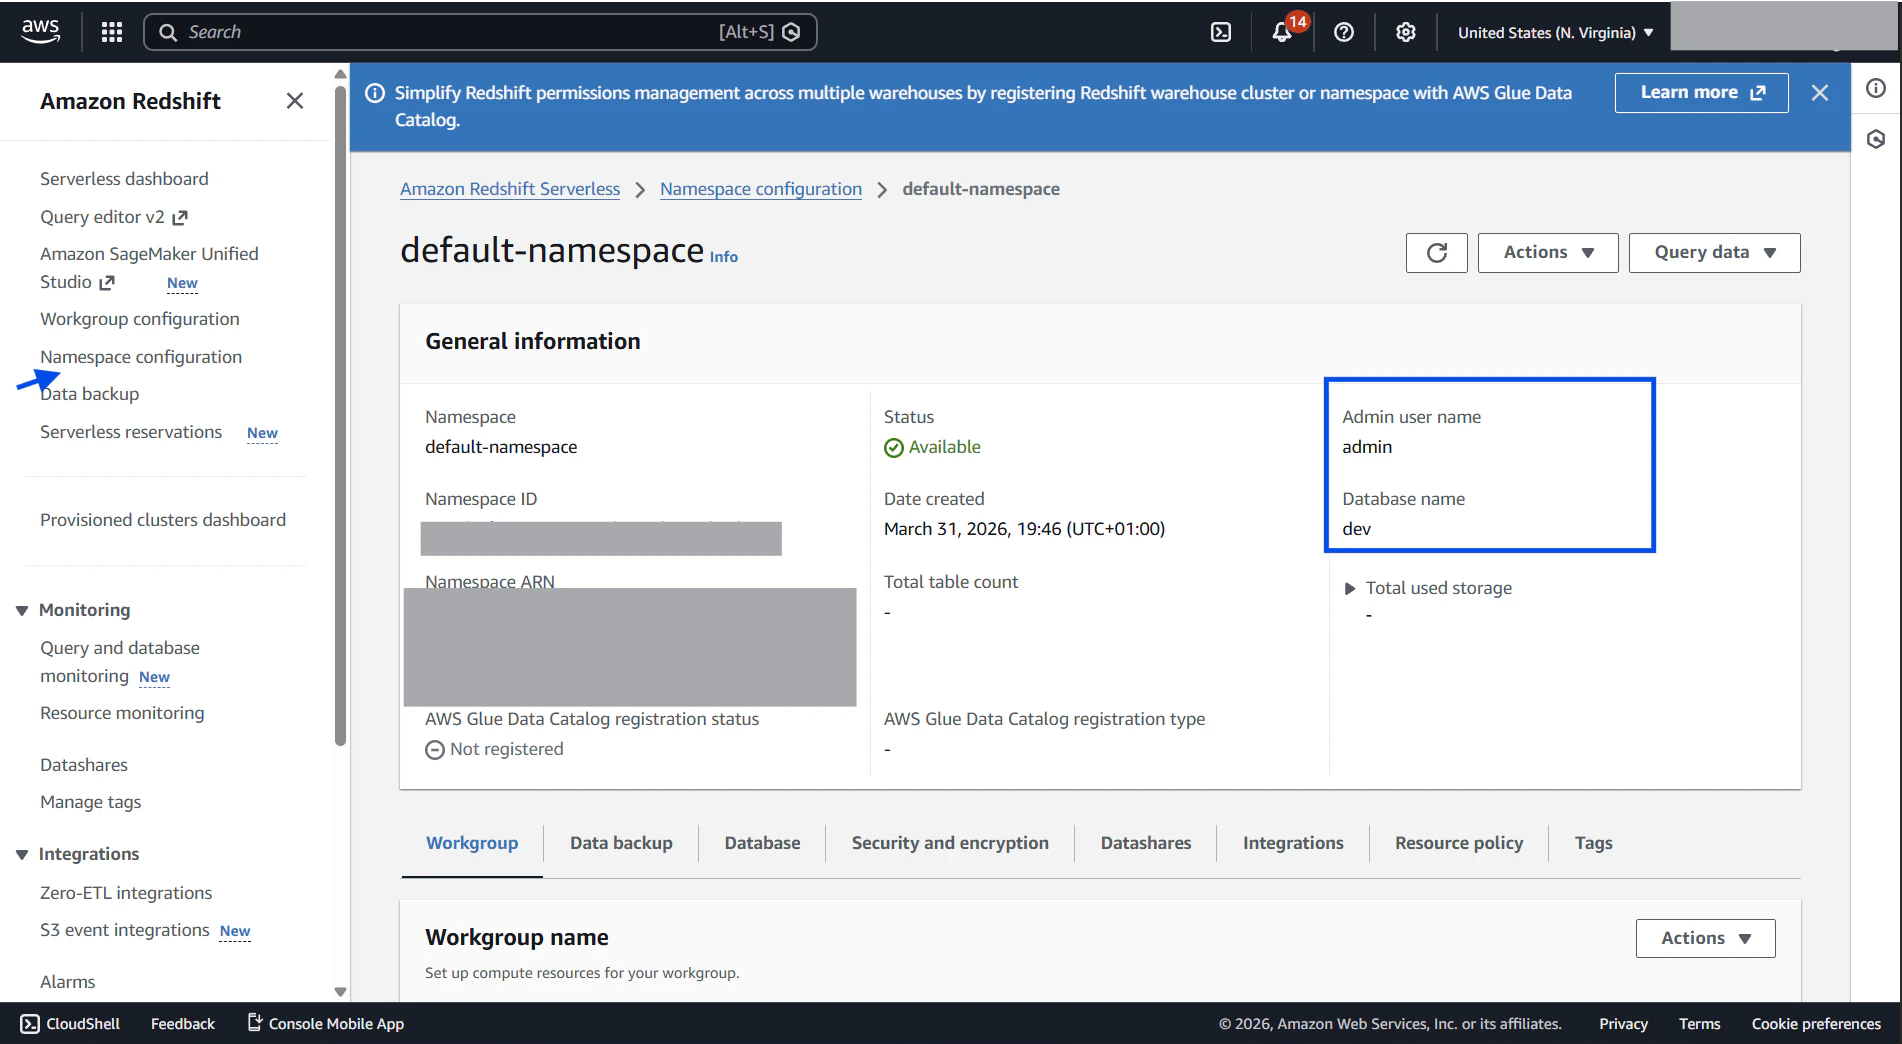
Sign in to AWS Console and locate your Redshift cluster details.
a. Sign in to the AWS Console at https://signin.aws.amazon.com and search for Redshift in the services bar.
-
Connections → Add Connection → select
Redshift. - Enter Host (endpoint), Port (default 5439), User, Password, and Database.
-
Click
Test ConnectionthenConnect.
File-based connections
CSV
Step-by-step:- Connections → Add Connection → select
CSV. - Upload CSV (supported encodings: UTF-8, UTF-8 BOM, Latin-1).
- Dex auto-detects headers and types, converts to Parquet for fast querying.
- Name the connection and click
Connect.
Integrations (APIs)
Stripe
Required fields: Secret API Key (sk_test_ or sk_live_).
Step-by-step:
-
Connections → Add Connection → select
Stripe. -
Copy Secret API Key from Stripe Dashboard → Developers → API keys.
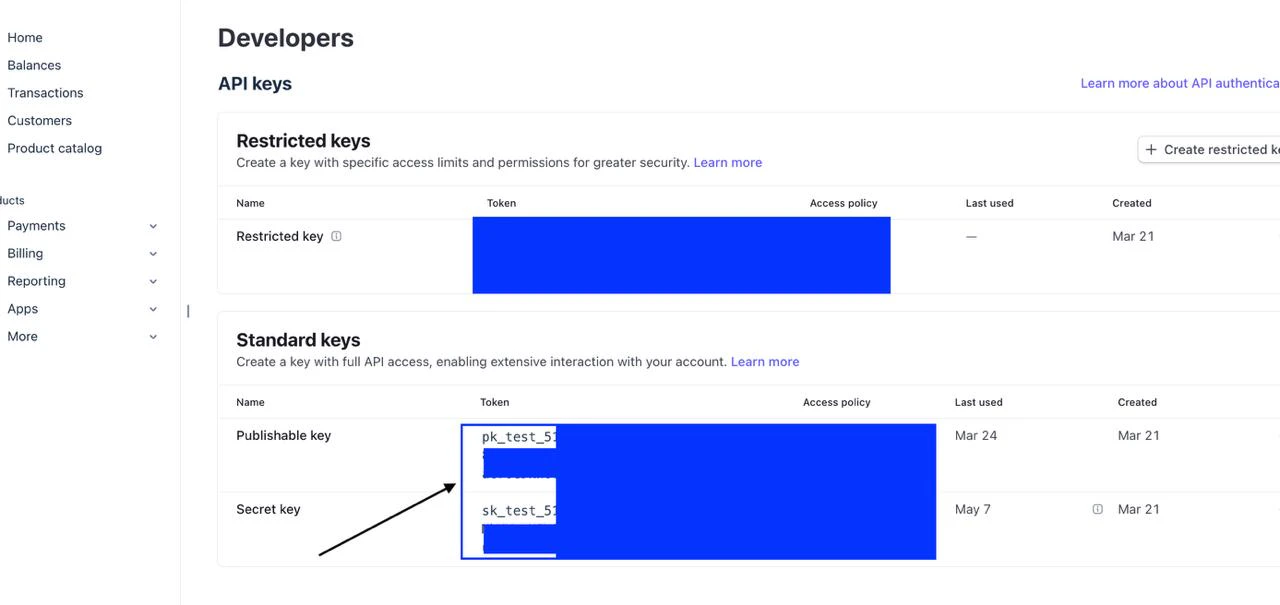
-
Paste the key, select enabled resources, click
Test Connection, thenConnect.
rk_) are not supported.
Shopify
Required fields: Shop Domain (yourstore.myshopify.com), Admin API Access Token.
Step-by-step:
- Connections → Add Connection → select
Shopify. - Create an app in Shopify Admin, enable required Admin API scopes.
- Install the app and copy the Admin API access token.
- Enter Shop Domain and Access Token, select resources,
Test Connection, thenConnect.